Managing Groups, Roles and Job Titles
In this guide, you will learn how to establish the hierarchy of your firm by managing user groups, roles and permissions, and job titles.
Table of contents
Accessing the Group, Roles and Job Titles window
To access the Group, Roles and Job Titles window:
- Click the Settings (
 ) link on the left side panel.
 - Click the Group, Roles and Job Titles block.
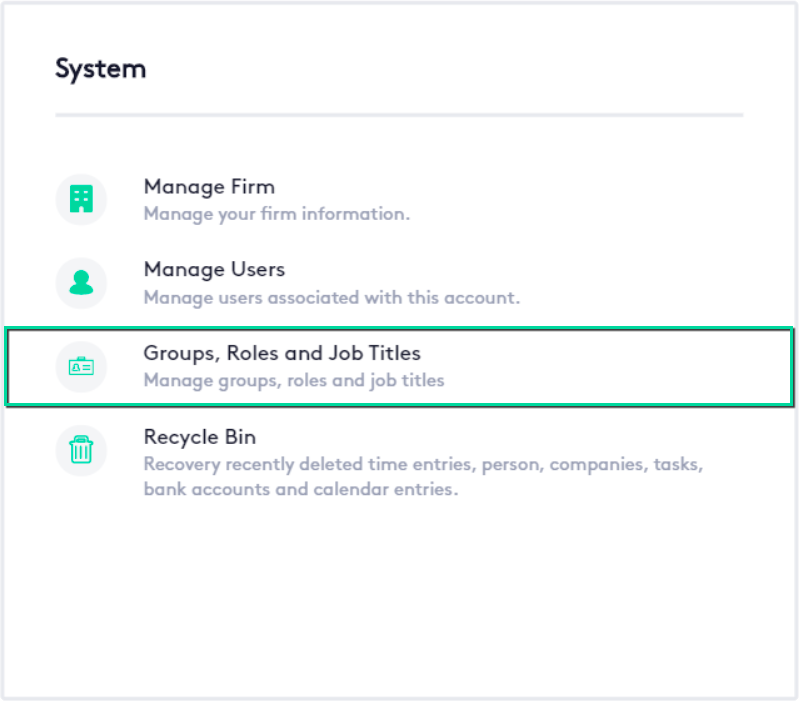
This window will allow you to manage the internal organization of your firm and is divided into three tabs; each corresponds to a management component with a predefined set of elements, all associated with the most essential groups, roles and job titles within any law firm.
Although most of the predefined items can be modified or removed, no action is recommended unless necessary.
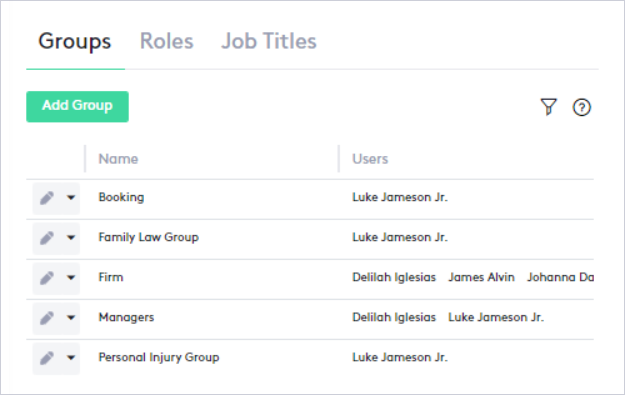
Groups tab
The Groups tab allows you to group users according to their practice area or job title to, among other things, specify their permission levels.
Some predefined groups are:
- The Firm group contains all the users who are currently working in the firm, which will be added automatically once confirmed.
- The Managers group should contain only the managing partners.
- The Booking group should include only users who can do this work on other calendars.
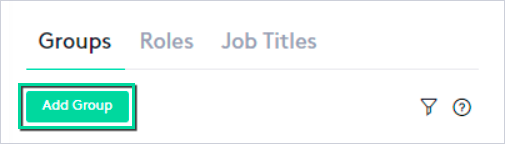
Creating a Group
To create a group, click the Add Group button.
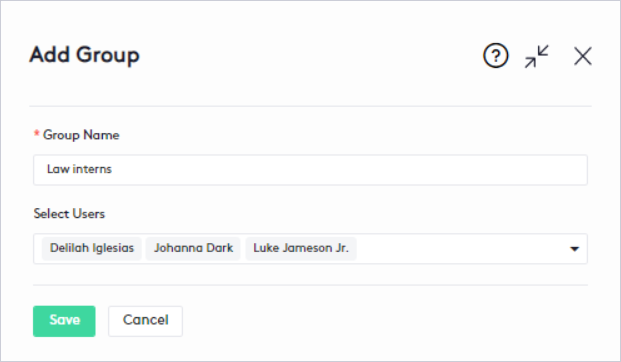
After the panel is displayed:
- Enter the Name of the group.
- Select the Users that will belong to the group, only confirmed users will be displayed.
- Click the Save button.
Read the Managing Users guide for more information on how to invite a user.
Editing a Group
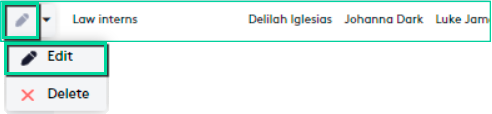
To edit a group, at the beginning of the group row in the table, use one of these options:
- Click the Edit (
 ) button.
 - Click the action selector and then click the Edit (
 ) button.
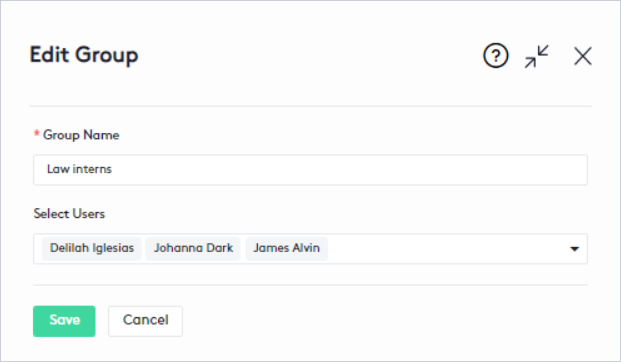
From the Edit Group panel:
- Rename the group and add/remove the users you need.
- Click the Save button.
Before editing a group, consider the following:
- As with creation, only confirmed users can be added to a group; if necessary, wait for user confirmation and then edit the group again.
- The name of some of the predefined groups (e.g. Booking and Firm groups), due to their purpose, cannot be changed.
Deleting a Group
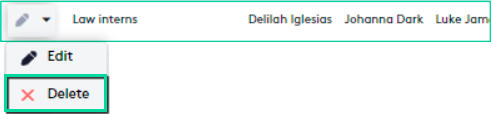
To delete a group:
- Click the action selector next to the Edit () button at the beginning of the group row in the table.
- Click the Delete (
 ) button.
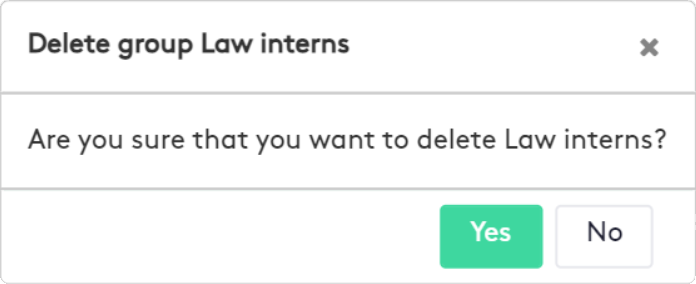
- In the modal that is displayed, click Yes to confirm the action.
Before deleting a group, consider the following:
- Some predefined groups, due to their importance and purpose in Maatdesk, cannot be deleted (e.g. Booking and Firm groups).
- Deleting a group will remove it from all the roles it is in.
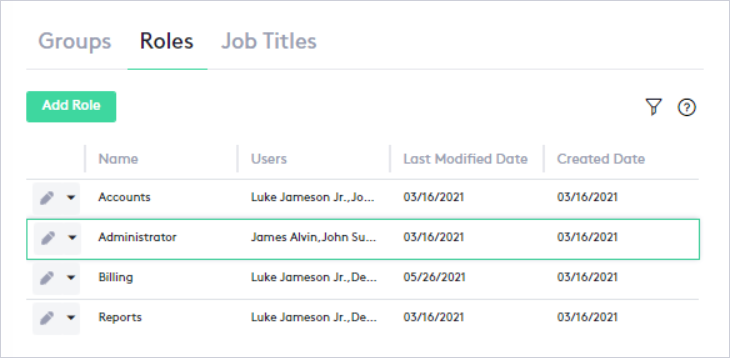
Roles tab
Each role will contain a set of users, groups, or both for which the actions they can and cannot do in Maatdesk will be set.
The predefined roles in Maatdesk are:
- Accounts: Through this role, selected users and groups will be able to manage bank accounts, transactions, and contacts only related to their matters.
- Administrator: This role gives selected users or groups full control over Maatdesk.
This role cannot be renamed or deleted and its permissions cannot be changed.
- Billing: Users and groups in this role will be able to manage finances for all matters in Maatdesk.
- Reports: Users and groups in this role will only be able to view reports related to their matters.
Creating a Role
To create a role, click the Add Role button.

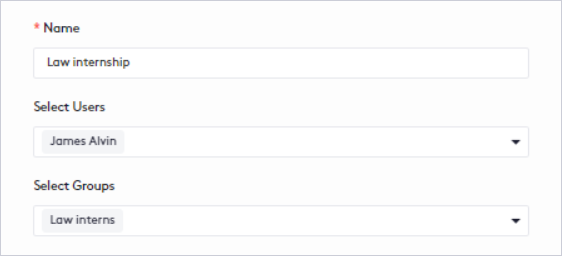
Once the panel is displayed:
- Enter the Name of the role.
- Select the Users to be assigned to the role, only confirmed users will be displayed.
- Select the Groups to be assigned to the role.
- Check the Access Levels that the selected users and groups will have.
- Click the Save button.
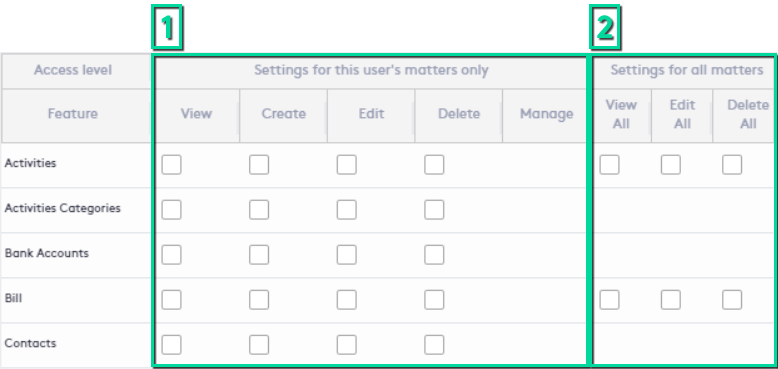
The permission table has the following composition:
- Rows: Will be the Maatdesk modules and features to which the access level will be granted.

- Columns: They are divided into two blocks:
- The actions that selected users and groups can perform for their own matters.
- The actions that can be performed for all matters in Maatdesk.
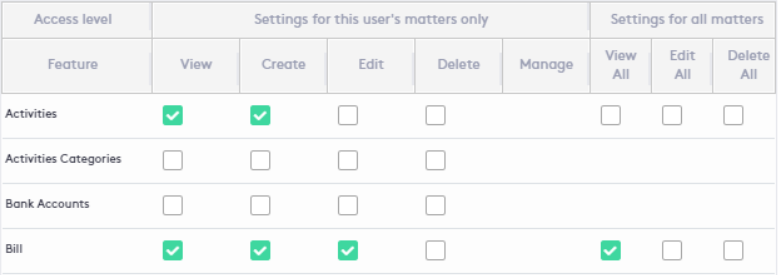
A good practice is to associate users by groups to assign permissions.
The following image shows an example of permissions for the group “Law interns”:
- The group can view and create activities for any of its matters, but cannot edit or delete them.
- The group can view, create and edit bills for any of its matters, but cannot delete them.
- The group can only view bills for any other matter that does not belong to it.
- No other actions will be allowed.
Editing a Role
To edit a role, at the beginning of the role row in the table, use one of these options:
- Click the Edit () button.
- Click the action selector and then click the Edit () button.

From the Edit Role panel:
- Make any necessary changes by following the steps in the Creating a Role section.
- Click the Save button.
When editing the Administrator role, only users or groups can be modified.
Deleting a Role
To delete a role:
- Click the action selector at the beginning of the role row in the table.
- Click the Delete () button.

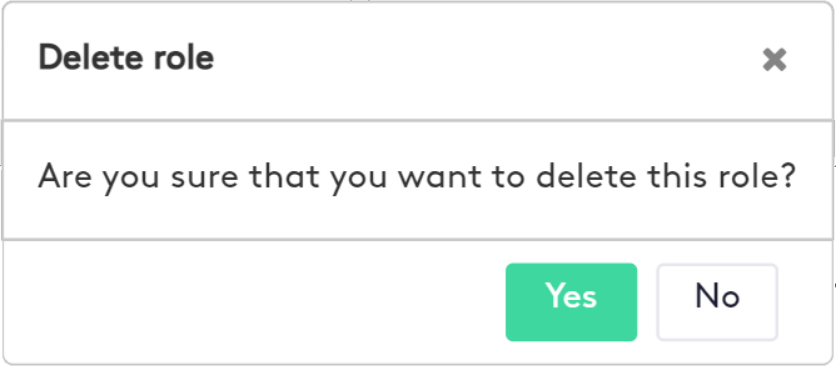
- In the modal that is displayed, click Yes to confirm the action.
Before deleting a role, consider the following:
- When deleting a role, all users and groups will lose their assigned permissions, so they may not be able to perform any action in Maatdesk unless they are included in some other role.
- The Administrator role cannot be deleted.
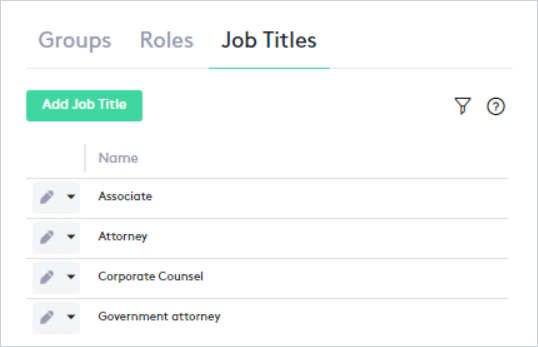
Job Titles tab
In this tab, you can set all the firm’s job titles, and then associate the users with the work they do or the position they occupy.
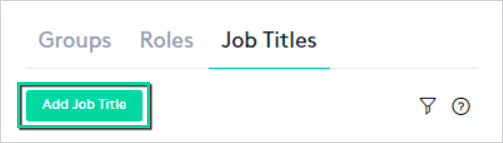
Creating a Job Title
To create a job title, click the Add Job Title button.
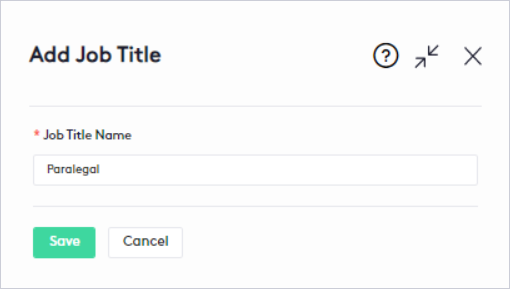
After the panel is displayed:
- Enter the Name of the job title.
- Click the Save button.
To assign job titles to users, read the Managing Users guide.
Editing a Job Title
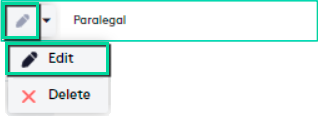
To edit a job title, at the beginning of the job title row in the table, use one of these options:
- Click the Edit () button.
- Click the action selector and then click the Edit () button.
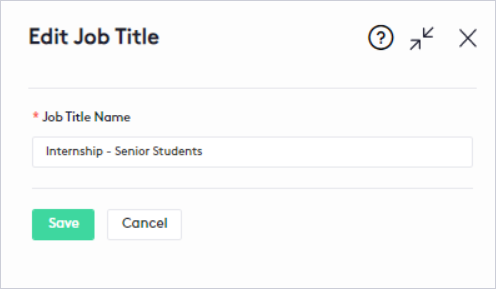
After the panel is displayed:
- Rename the job title.
- Click the Save button.
Renaming the job title will change it for all users that contain it.
Deleting a Job Title
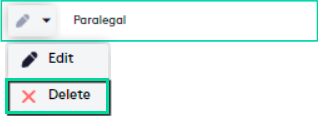
To delete a job title:
- Click the action selector at the beginning of the job title row in the table.
- Click the Delete () button.
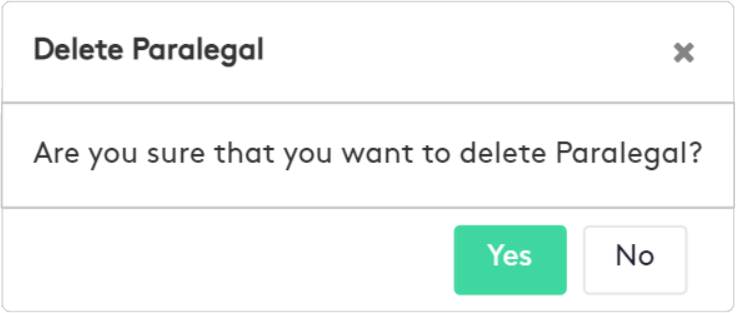
- In the modal that is displayed, click Yes to confirm the action.
A job title cannot be deleted as long as there is at least one user containing it, including those in the Trash.