Getting started with Matters
In this tutorial, you will learn the basics of working with Matters and gather the information you need for effective matter lifecycle management.
Table of contents
Creating a Matter
To create a matter, do the following:
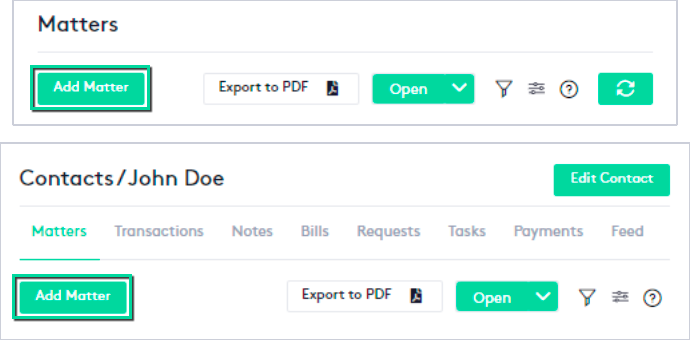
- Go to the Matters window or the Matters tab of any Contact dashboard and click the Add Matter button.
Once in the Add Matter panel, fill in the fields or sections as described below:
Main information
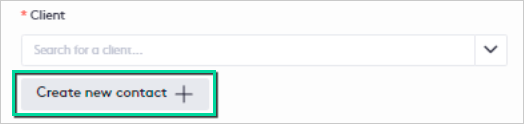
- Client: Select one of the existing contacts in Maatdesk, be it a person or a company.
If the client does not exist, click the Create new contact button and follow the steps in the Getting started with Contacts tutorial.
- Conflict of Interest: Once a client is selected, Maatdesk automatically performs a conflict check. A
Critical Conflict Detected alert will appear if the client has been a participant or an adverse party in another existing case or matter.

Note: If a conflict is found, you must review the listed matters. To proceed with saving, you are required to check the box confirming you have a written conflict waiver on file and complete the waiver justification field.
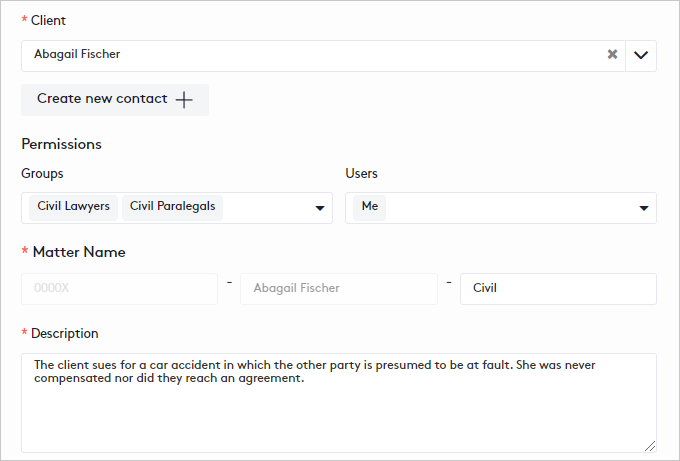
- Permissions: Select who can access the matter and its information:
- Selecting a Group means that all users in that group can access the matter.
- Me, selected by default, means that only you can access the matter.
- Selecting another user, several or all means that they will also be able to access the matter.
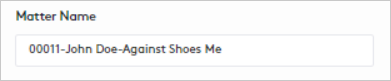
- Matter Name: You only need to enter the Matter Name; the Matter Number and Client Name will be filled in automatically.

- Description: Write a summary of what the matter is about.
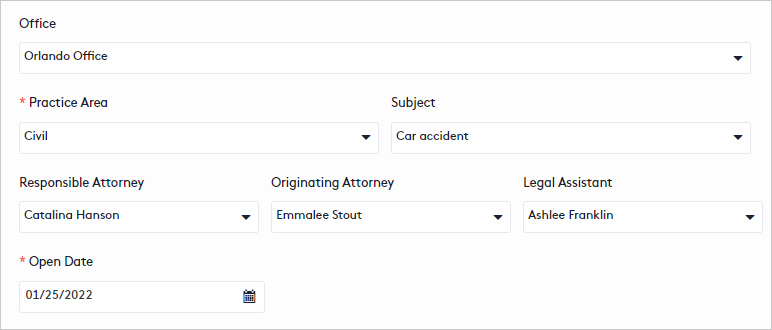
- Office: Select the office where the matter will be handled.
- Practice Area: Select the practice area that corresponds to the matter.
For each practice area, the matter may have specific information to collect.
- Subject: Select a subject for the practice area to add another level of grouping or limit your search.
- Responsible Attorney: Select the attorney in charge of the matter.
- Originating Attorney: Select the attorney who created the matter.
- Legal Assistant: Select the assistant that will support the attorney on the matter.
- Open Date: Change the matter creation date if necessary, it will be today by default.
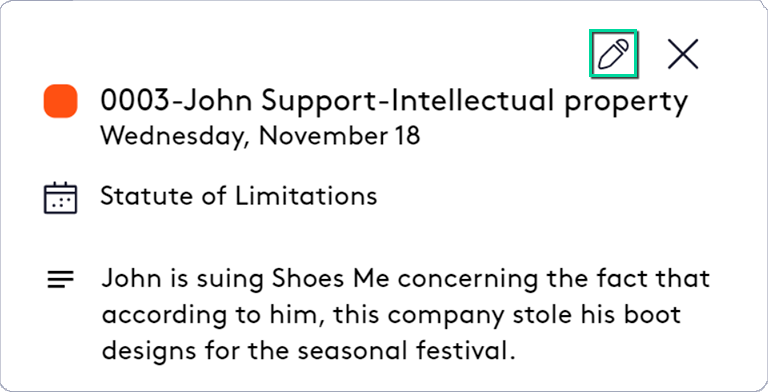
- Statute Of Limitation: If necessary, select a Limitation Date and check if it has already been satisfied.
Once the matter is created:
- An event will be assigned to the Statute of Limitations calendar.
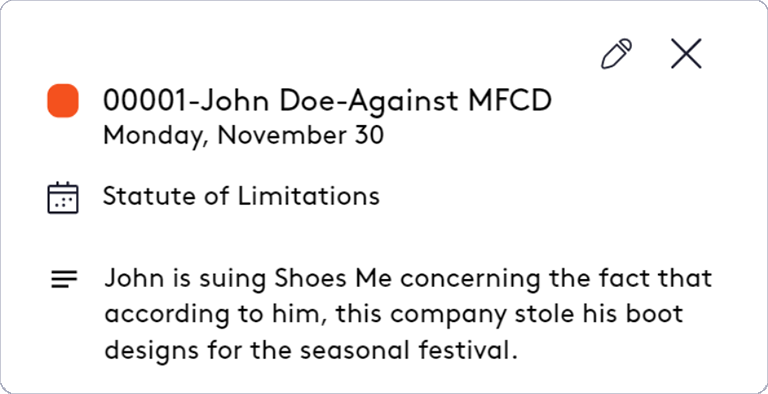
- If the limitation date is not satisfied, the matter will be displayed in the Limitation Date widget.
Both actions are intended to remind the attorney responsible for the matter or other users of the proximity of the statute of limitation.
- An event will be assigned to the Statute of Limitations calendar.
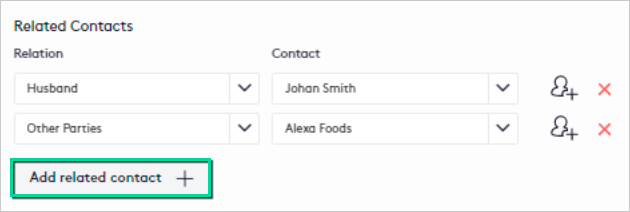
- Related Contacts: If another contact in Maatdesk is related to the client in the matter:
- Click the Add related contact button.
- Select a Relation and a Contact in the corresponding fields.
- Repeat the process for each relationship you want to add.
If any of the values do not exist, you can:
- Enter a Relation, after saving the matter, it will also be saved for reuse.
- Use the Create new contact (
 ) button and follow the steps in the Getting started with Contacts guide.
Billing preferences
In this section, you must:
- Check if the Matter is billable.
- Select how the client will be charged.
- Fill in the required fields for the selected method.
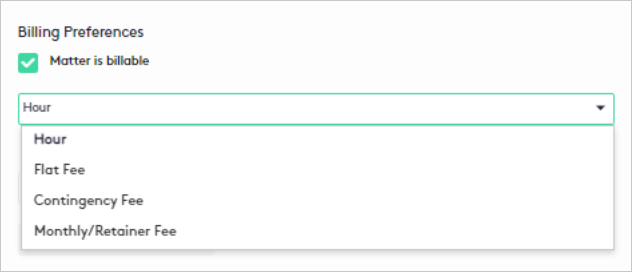
Each billing method is explained below:
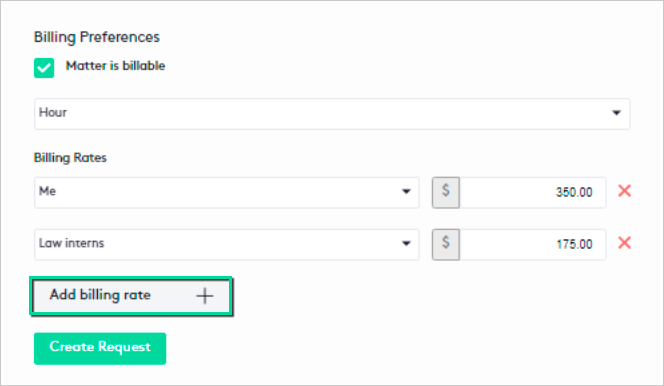
Hourly rate
It is the billing strategy applied to the time dedicated to the matter (for example, in the preparation of legal documents or consultations with experts).
If the matter has a custom billing rate:
- Click the Add custom rate button.
- Select the User or Group that will bill the matter.
- Enter the Amount to bill per hour.
- Click the Add billing rate button and repeat the process as many times as necessary.
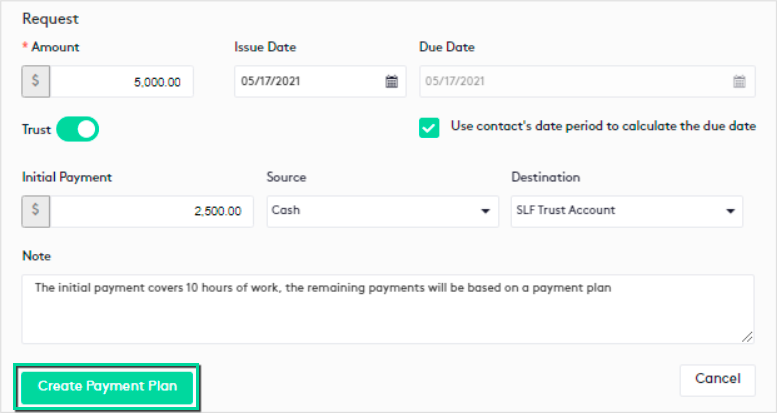
To register a retainer for the matter, click the Create Request button:
- Fill in the fields in the panel that is shown, you can use the Getting Started with Requests tutorial.
- If the client makes a payment on the spot, fill in the fields corresponding to:
- The amount of the Initial Payment.
- The payment Source.
- The Destination account.
- You can create a Payment Plan for the request once the Amount is set and if it is greater than the initial payment amount.
After the matter is created, if a deposit is registered:
- A request will be created for the defined amount.
- The initial payment of the request will be recorded for the defined amount.
- A payment plan will be created if set, and the events for the payment of each installment will be created in the Payment Plan calendar.
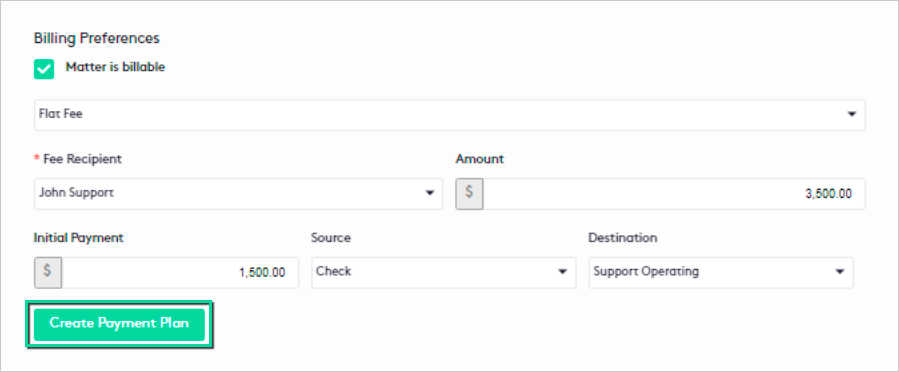
Flat Fee
This billing strategy allows you to charge a flat fee to the client.
A flat fee matter allows for time tracking as the matter progresses and additional expenses may be charged to clients. Time entries are tracked at a rate of $0.00/hour by default (Non-Billable), this option can be changed.
In this billing strategy:
- Select the Fee Recipient, only Attorneys will be displayed.
- Enter the Amount to charge for the matter.
Once the amount is set:
- If the client makes a payment on the spot, fill in the fields corresponding to:
- The amount of the Initial Payment.
- The payment Source.
- The Destination account.
- You can create a Payment Plan if the amount of the initial payment is less than the amount defined for the flat fee.
Once the matter is created:
- A Flat Fee activity will be created for the amount established with the description “Main matter flat fee”.
- An invoice will be created for the Flat Fee activity.
- An invoice payment will be recorded in the amount of the initial payment if one was established.
- A payment plan will be created if set, and the events for the payment of each installment will be created in the Payment Plan calendar.
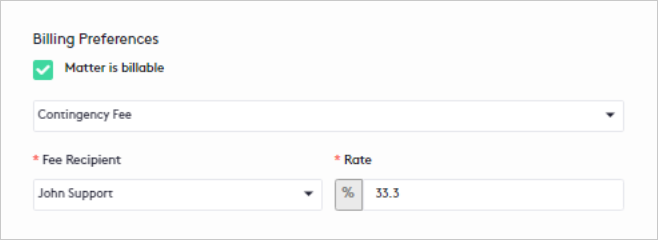
Contingency Fee
This billing strategy allows you to collect a percentage of the amount earned by completing the matter, for which payments must be recorded manually.
Time and expense entries can be created, but the time entry rate will be set to $0.00 by default (Non-Billable), which can be changed.
In this billing strategy:
- Select the Fee Recipient, only Attorneys will be displayed.
- Enter the percentage Rate the recipient will earn.
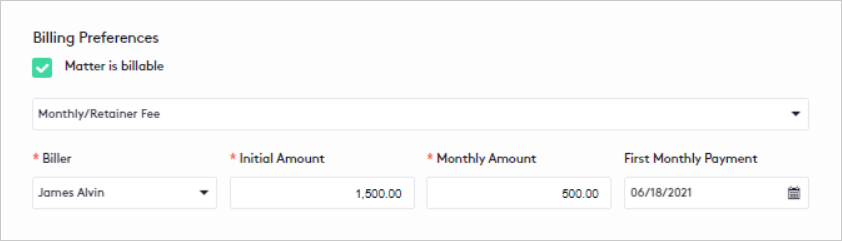
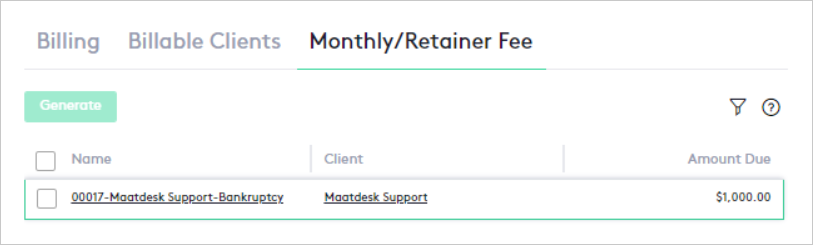
Monthly/Retainer Fee
This billing strategy allows you to create the matter with an initial amount due and bill it monthly at a flat fee.
In this billing strategy:
- Select who will bill the matter monthly, only Attorneys will be displayed.
- Enter the Initial Amount and the Monthly Amount to be billed, both may differ.
- Select the date of the First Monthly Payment.
Once the matter is created:
- A Flat Fee activity will be created for the initial amount with the description “Retainer Fee Initial Amount”.
- An invoice will be generated for the Flat Fee activity and its payment must be recorded manually.
- From the date of the first monthly payment, and with that frequency, the Monthly/Retainer Fee tab will show the matter and the amount due to generate the invoice.
The matter will no longer be displayed in this tab once it enters the Closed state.
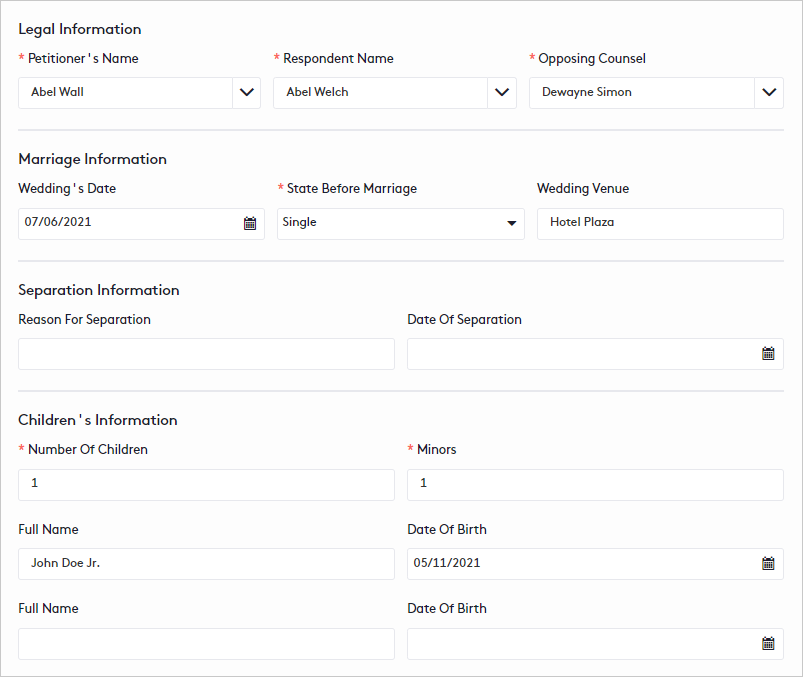
Custom forms
Once the practice area is selected, a custom form will be displayed, which will vary depending on the information that needs to be collected for the matter. The information to request, the type of field, as well as other elements, do not depend on Maatdesk, but on what a member of the firm with permissions to do so, or the firm itself, defines in the forms for each practice area.
Keep in mind that if after completing the data, the practice area changes, they will be lost and you will have to complete the new requested fields.
The following image shows an example of a custom form for a matter, where the selected practice area has been “Family”.
After filling in all the required fields for the matter, click the Save button.
Editing a Matter
There are three ways to edit a matter:
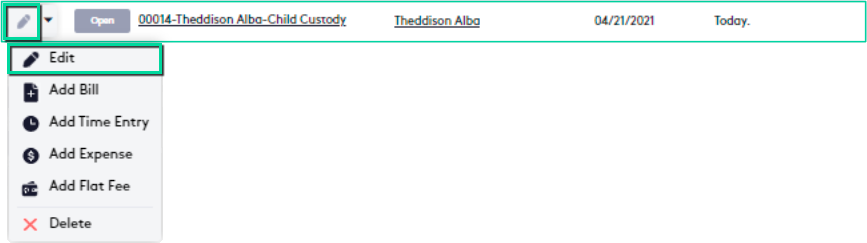
- From the Matters window or the Matters tab of a Contact dashboard, at the beginning of the matter row in the table, use one of these options:
- Click the Edit (
 ) button.
 - Click the action selector and then click the Edit (
 ) button.
- Click the Edit (
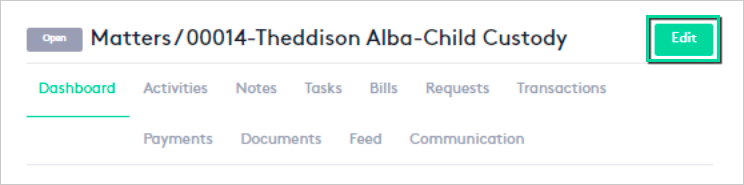
- From the Matter dashboard, click the Edit button at the top right of the window.
This option is not available for Closed matters.
- If the matter has a statute of limitations:
- Click on the associated event in the calendar.
- Click the Edit (
 ) button on the event card.
Once the Edit Matter panel is displayed:
- Make any necessary changes by following the steps in the Creating a Matter section.
- Click the Save button.
It is recommended to take into account the following:
- Closed matters only allow editing to change their status.
- After changing the status, it is recommended to fill in the Open/Closed/Pending Date of the matter according to the selection.
- Changing permissions will change access to the matter for added or removed users or groups.
- Some statuses when changed, such as Hold, allow you to create a note to describe the reason for the change.
- Keep the first two Matter Name fields to keep your information in Maatdesk organized and readable.
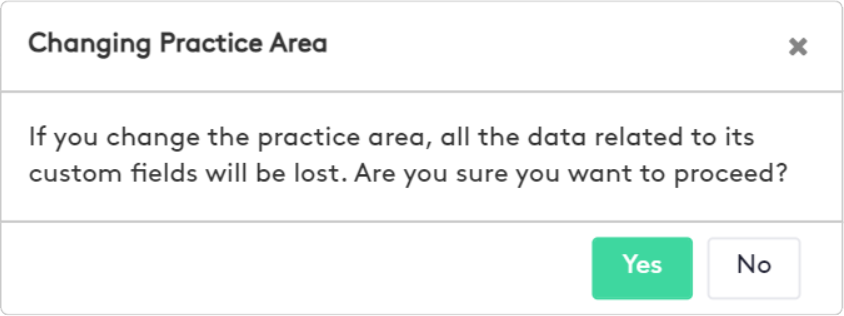
- When changing the Practice Area, all information collected for the matter in the custom form will be lost.
If you are sure to do this:
- In the modal displayed click Yes to confirm.
- Proceed to fill in the fields for the new custom form.
- When changing the Statute Of Limitation:
- The associated event will be adjusted on the calendar.
- If the limitation date is not met, the matter will be displayed in the Limitation Date widget.
- Although you can change the billing strategy (Billing Preferences) consider whether the change is really necessary.
- Every time a matter is edited, if the billing strategy is “Hours”, a new request for funds can be generated and an Initial Payment and Payment Plan can be registered for it.
- Every time you chose to create a new flat fee while editing the matter, you will have to void the invoice and delete the activity created when selecting the strategy. To change the Fee Recipient or the Amount you just need to void the invoice.
Please note that after any of these actions are done, a new bill must be created manually.
Deleting a Matter
To delete a matter:
- Go to the Matters window or the Matters tab of a Contact dashboard.
- Click the action selector next to the Edit () button at the beginning of the matter row in the table.
- Click the Delete (
 ) button.
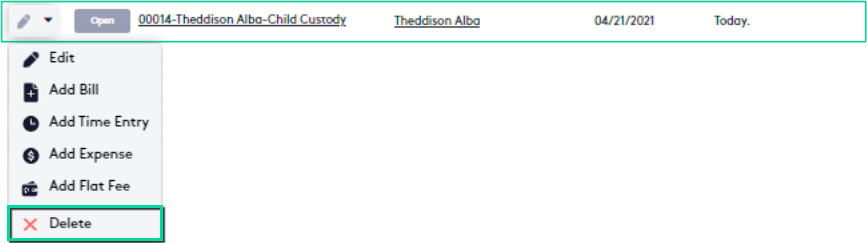
- In the modal that is displayed, click Yes to confirm.
The matter will be sent to Trash, where it can be restored later or permanently deleted.