Getting started with Requests
Through the Maatdesk Requests module, you can collect an initial deposit or advance from clients, or request a top-up of funds, for both trust and non-trust accounts.
In this tutorial, you will learn the basics of working with Requests in just a few steps.
Table of contents
Creating a Request
To start creating a request, do one of the following:
- Click the Add Request button in the Requests window or Requests tab of any Matter or Contact dashboard.

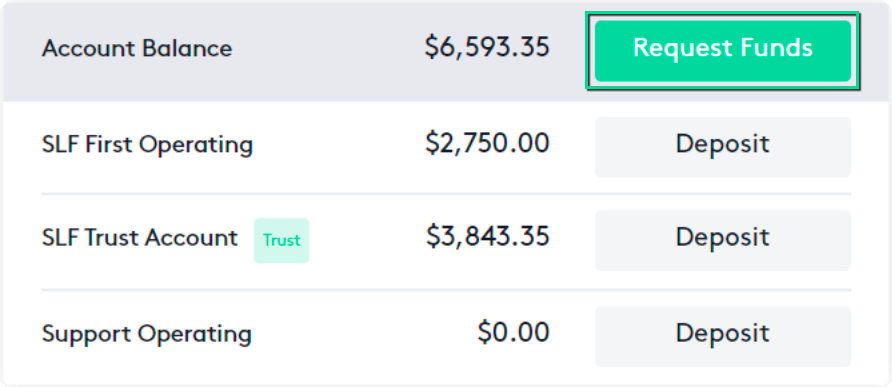
- Click the Request Funds button in the Financial widget of any Matter dashboard.
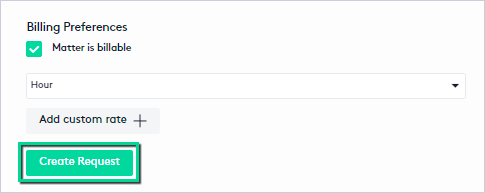
- When creating or editing a matter, click the Create Request button if:
- The matter is billable.
- The selected billing method is “Hours”.
The procedure for creating a request from the New Request panel is similar to when creating or editing a matter.
The distinctive elements for the latter case are implicit in the fields where applicable and in the Additional fields in a request created from the Add/Edit Matter panel section.
To create a new request, fill in the fields as described below:
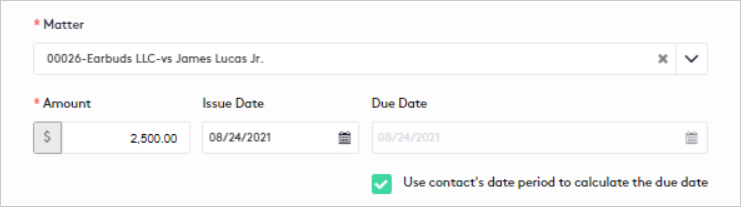
- Matter: Select the matter for which the request will be created.
- If created directly from a contact, only the matters of that contact will be displayed.
- If created directly from a matter, this field cannot be changed.
- Amount: Enter the amount to request.
- Issue Date: The request issue date will be set to the current date by default, change it if necessary.
- Due Date: The request due date will be set based on the grace period established for the matter client.
To change this value you must uncheck the “Use contact’s date period to calculate the due date” field and select the new one.
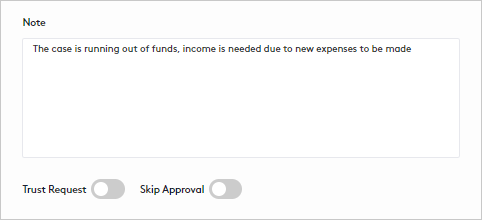
- Note: Write a short note about the reason for the request.
- Trust Request: Check this option if you are requesting funds to be deposited into a trust account (by default, the request will be Non-Trust).
In trust requests, refunds cannot be made, instead you can use the Disburse funds option.
- Skip Approval: Check this option to generate the request directly in the Awaiting Payment status.
- If you leave this option unchecked, the request will be saved in the Draft status and can be edited when needed.
- Checking this option will enable the Save and Pay button, allowing you to execute the payment of the request instantly.
- If a request is created directly when creating or editing a matter, this field will not be available, so the request will go directly to the Awaiting Payment status.
To know how to instantly pay the request, you can read the section Additional fields in a request created from the Add/Edit Matter panel.
After setting the request information, you can:
- Click the Save button.
- Click the Save and Pay button.
If a request is created directly when creating or editing a matter, these buttons will not be available, so it will be automatically saved at the time of saving the matter.
Additional fields in a request created from the Add/Edit Matter panel
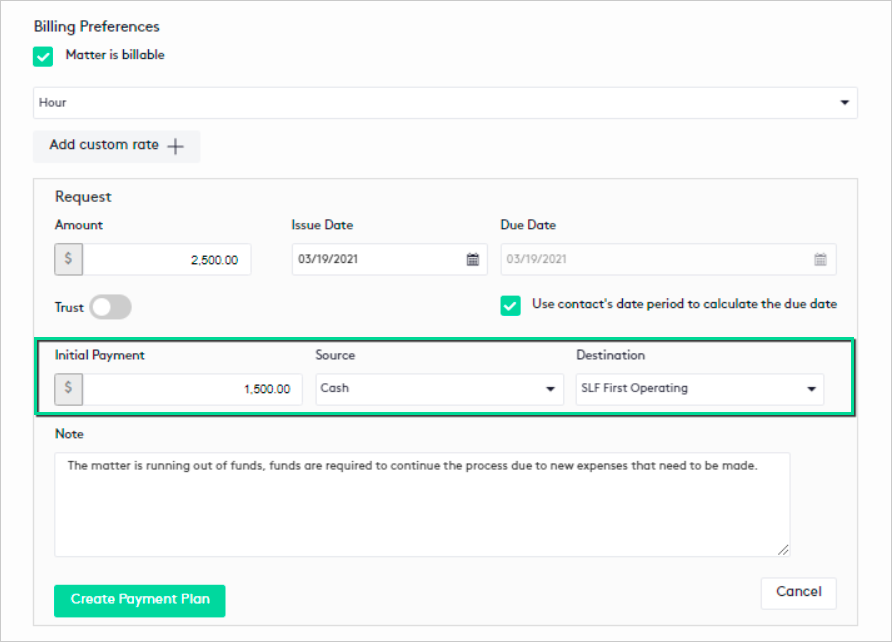
If a request is created directly when creating or editing a matter, there will be three (3) additional and non-mandatory fields that will allow you to execute the payment of the request at the time of saving the matter.
These fields will be enabled only after entering the request Amount:
- Initial Payment: Enter the amount of the request payment, this amount must be less than or equal to the Amount defined for the request.
- If the amounts match, the request will be paid in full.
- If the Initial Payment amount is less than the Amount defined for the request, you can create a Payment Plan.
- The initial payment can be seen in the Request Details window.
- Source: Select the way used to execute the payment.
- Destination: Select to which bank account the payment funds will be sent.
The destination accounts will be those according to the type of request selected (Trust or Non-Trust).
Editing a Request
Please note that only Draft requests can be edited.
To edit a request:
- In the Requests window or Requests tab of any Matter or Contact dashboard, at the beginning of the request row in the table, use one of these options:
- Click the Edit (
 ) button.
 - Click the action selector and then click the Edit (
 ) button.

- In the Request Details window, click the Edit button in the upper right corner of the window.

Once the Update Request panel is displayed:
- Modify the request according to your needs by following the steps outlined in the Creating a Request section.
- Click the Save or Save and Pay button.
The Save and Pay button is available only if you check the Skip Approval option and allows you to execute the payment of the request instantly, by saving it in the Awaiting Payment status.
Deleting a Request
Please note that only Draft requests can be deleted.
To delete a request:
- Go to the Requests window or Requests tab of any Matter or Contact dashboard.
- Click the action selector next to the Edit () button at the beginning of the request row in the table.
- Click the Delete (
 ) button.

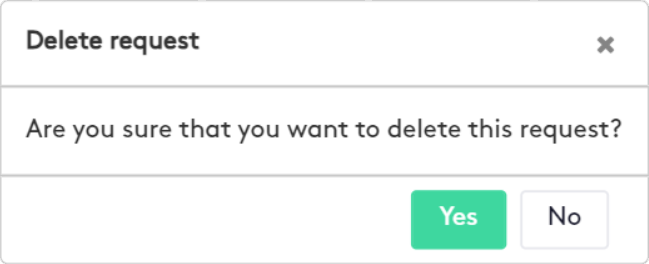
- In the modal that is displayed, click Yes to confirm the action.