Getting started with Events
This tutorial provides the basics of working with Events so you can add events to your calendars, share them, create invitations, and more.
Table of contents
Events in Maatdesk
Events in Maatdesk can be classified according to their nature into four (4) different types:
- Custom events: These are events created by a user in their calendars or in which they have permission to do so.
- System events: These are events created automatically by Maatdesk, the actions to be carried out will be limited and on the associated item, not on the event itself.
- Invitations: These are events created by other users in which assistance is requested. The actions allowed will depend on the permissions granted for this type of event.
- Third-party events: These are the events that will be visible in Maatdesk from the integrated Google calendars.
Creating a custom Event
To start creating events:
First, click on the Schedules (![]() ) link on the left side panel to enter the Schedules module.
) link on the left side panel to enter the Schedules module.
Then use one of these ways:
- Click the Add Event button.

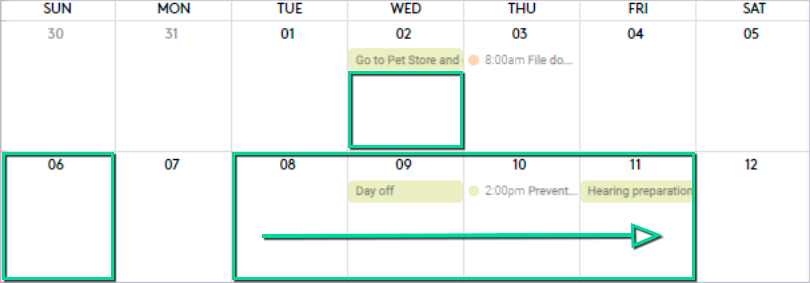
- Click the day/time on the calendar or drag the cursor over multiple days/times to create an event for that period.
These actions are not allowed in the Agenda view.
In the Add Event panel, fill in the event information as follows:
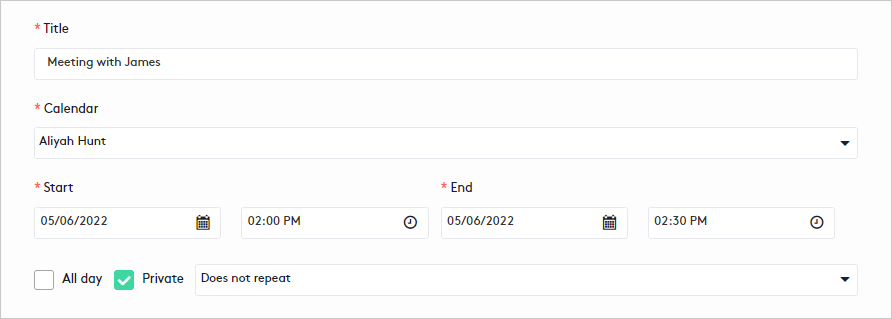
- Title: Enter the title of the event.
- Calendar: Select the calendar where the event will be displayed.
The available calendars will be:
- All custom calendars checked as visible.
- All shared calendars checked as visible, with Editor or Booking permission.
- The main Google calendar if it is integrated and checked as visible.
- The user’s calendar even if it is not checked as visible.
- Start and End: Set the duration of the event. By default, the event will last all day.
- All Day: Uncheck the box to change the duration of the event in the fields above.
- Private: Only you and your guests can view the event when you check this box.
- Recurrence: Select how the event will repeat. To set a custom recurrence, read this section.
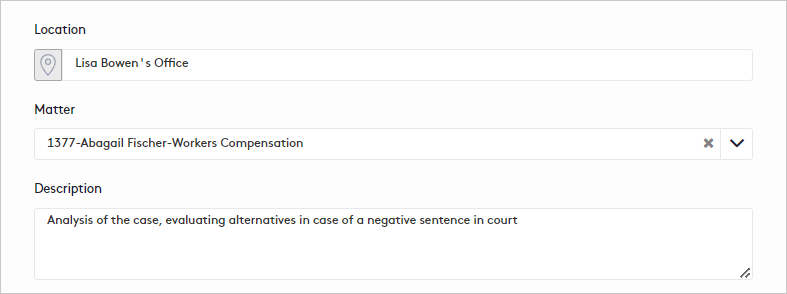
- Location: Enter where the event will occur.
- Matter: If necessary, select the matter for which the event will be created.
- By selecting an unclosed matter, a time entry can be created for the time spent on the event.
- This field is not available for Google Calendar events.
- Description: Write what the event will be about.
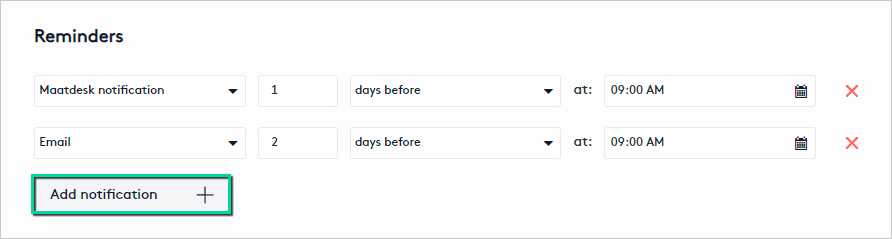
- Add notification button: Click the button for each reminder you will create and fill in the displayed fields.
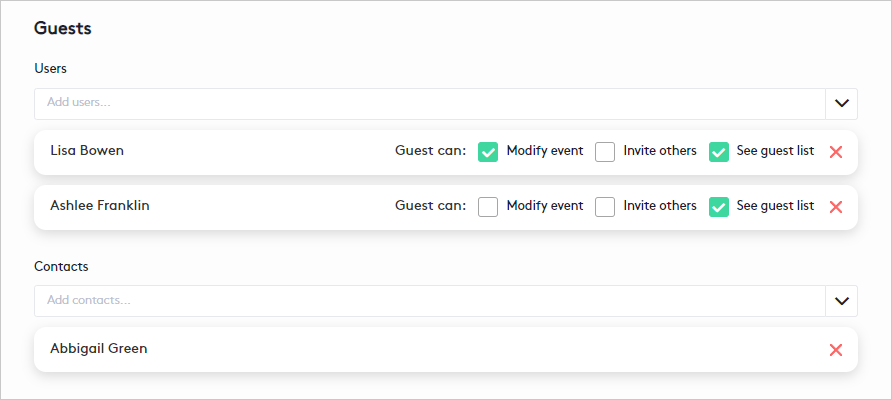
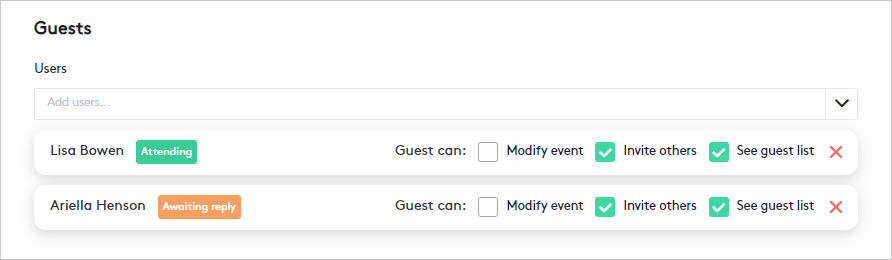
- Guests: Select the users and/or contacts to whom you will send an invitation to the event. For users only, assign the permissions you want them to have on the event.
Read the Viewing replies to your invitations section for more information.
Once you have configured the event:
- Click the Save button.
- Click the Save and associate time entry button to record the time spent on the event if an unclosed matter was selected.
Some details about the events:
- Events will be assigned by the color of the calendar they belong to.
- Events can be moved between days/times without editing, just drag them if the action is allowed.
Setting a custom recurrence for an event
To set a custom recurrence, in the modal that is displayed after selecting the Custom option, fill in the fields as described below:
- Repeat every X time unit: Select the event repeating cycle:
- If you select week, select the days of the week on which the event will repeat.
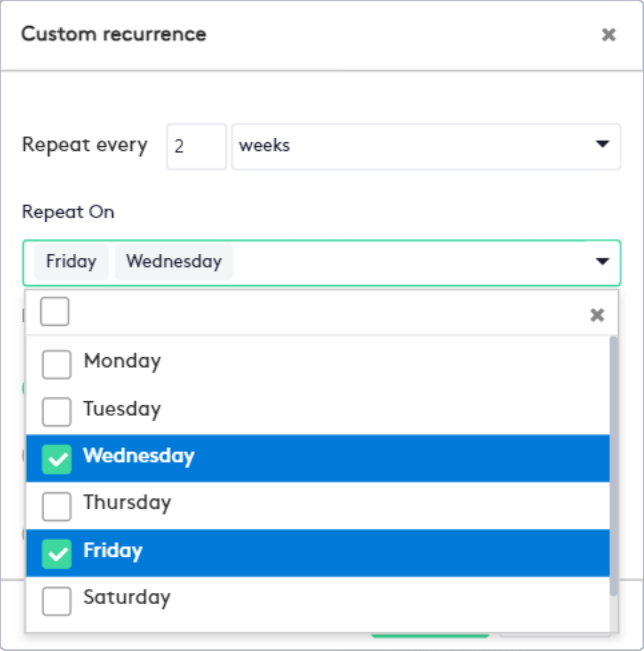
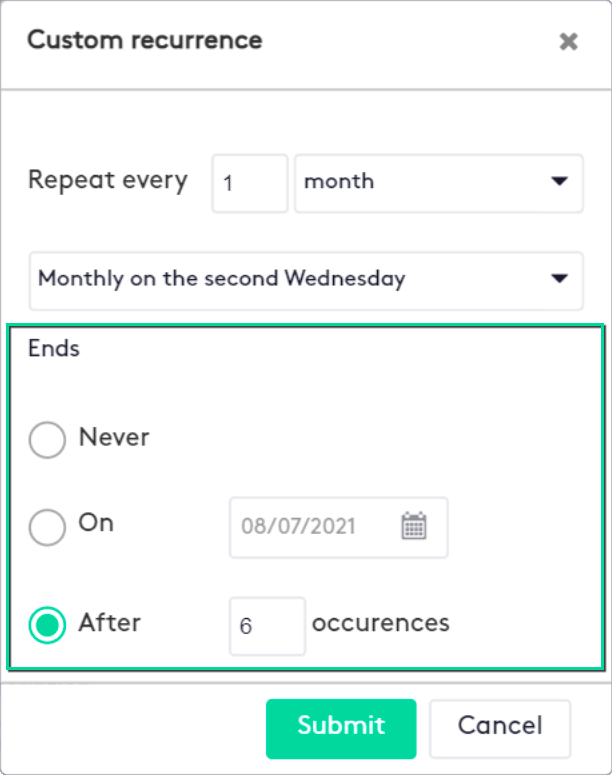
- If you select month, select whether the event will be repeated on the starting day in its numerical value or on the day of the week that it occupies in the month.

- If you select week, select the days of the week on which the event will repeat.
- Then select when the event will end:
- Never: The event will always be repeated. By default, it is the selected option.
- On: Set a specific date to end the event. By default, it is one month from the selected start date.
- After: Set the number of occurrences of the event.
Once all the fields for the custom recurrence have been filled:
- Click the Submit button.
- Continue to fill in the rest of the event fields.
Each recurrence you create will last as long as your session is active, making it available for other events.
Setting reminders for an event
For each reminder that you create for an event, you must:
- Indicate how you want to be notified, either by a Maatdesk notification or an email. For this, it is recommended to enable these options in your Profile.
- Set the time in advance to be notified.
The anticipation varies according to the type of event:
- For all-day events: Specify the number of days or weeks and select the time you want to be notified before the event starts.
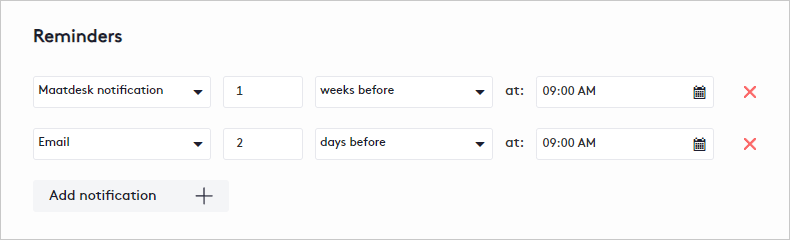
- For non-all-day events: Specify the amount of time you want to be notified before the event starts.
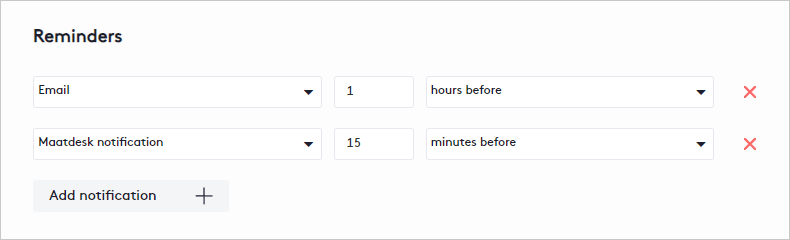
Maatdesk limits reminders to 1 month in advance or its equivalent in the unit of time you select.
Viewing the invitations
When an invitation is sent to any user, the following happens:
- If the user is invited to an event on a calendar:
- Shared with them, the event is considered part of that calendar.
- That is not shared with them, this event is considered part of their calendar.
- The user will receive a notification and/or an email from Maatdesk.
To receive emails, users must have this option enabled.

Replying to an invitation
To reply to an invitation:
- Open the event card of the invitation.
- Click on your attendance.
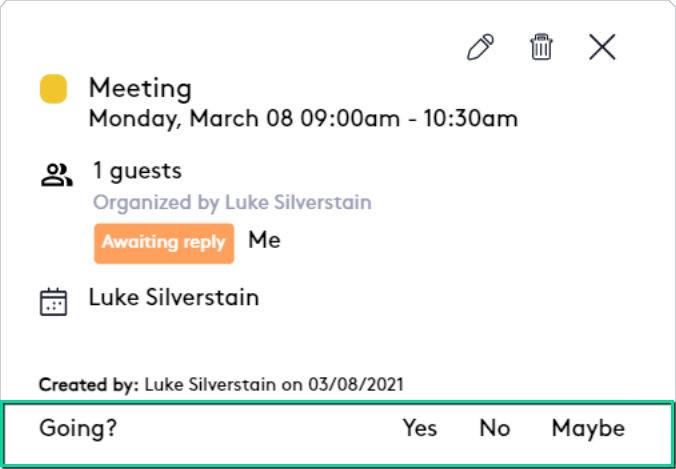
Once you reply to an invitation, it’s easy to spot it on your calendar:
- Awaiting reply:

- Yes (Attending):

- No (Not attending):

- Maybe (Maybe attending):

You can change event attendance at any time, but if you delete an invitation, it is considered unaccepted and removed from the calendar.
Viewing replies to your invitations
To view replies to an invitation:
- Every time an attendee responds to an invitation, a notification is displayed at the top of Maatdesk.

- Open the event card, the event is updated each time an attendee responds to the invitation.
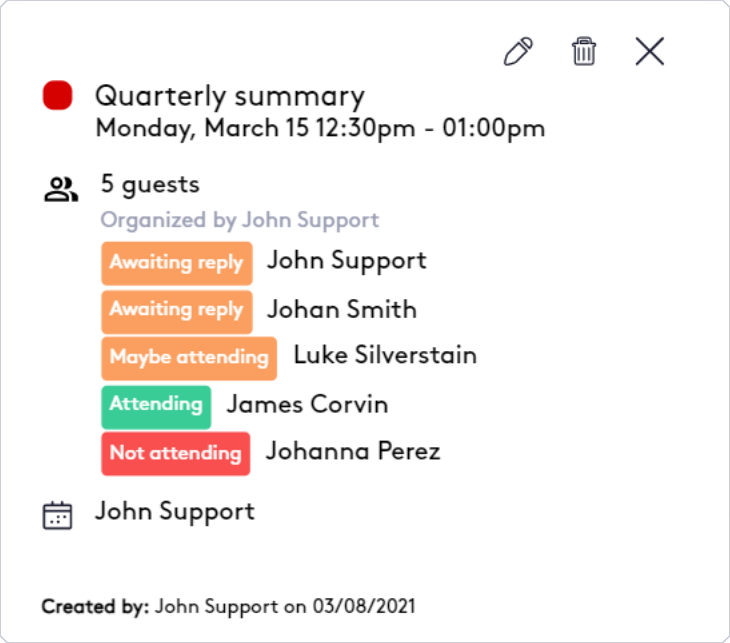
- Open your Notification center, a notification is added each time an attendee responds to the invitation.

- Access to edit the event if, in addition to seeing the replies, you need to modify the permissions or add/delete users or contacts.
Editing an Event
To edit an event:
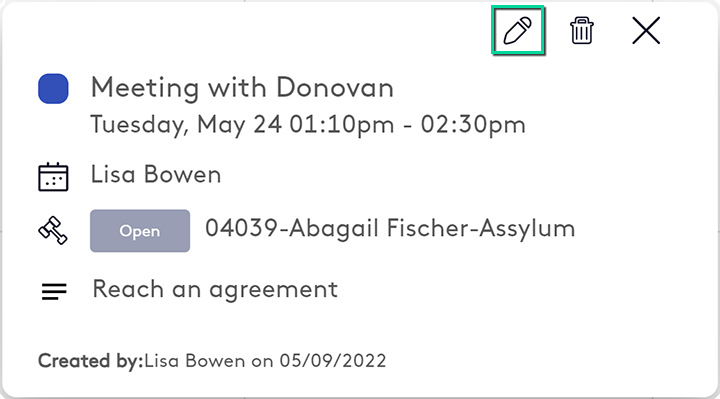
- Click on the event to open its card.
- Click the Edit button at the top right of the event card.
- Modify the event as described in the section Creating a custom event.
Once finished, you can:
- Click the Save button.
- Click the Save and associate time entry button to record the time spent on the event if an unclosed matter was selected.
Before editing an event, consider the following:
- When editing a recurring event, you can select how the changes will affect the recurrence before saving it.
- If you change the date or time of the event, your guests will have to respond to the invitation again, as the event underwent variations.
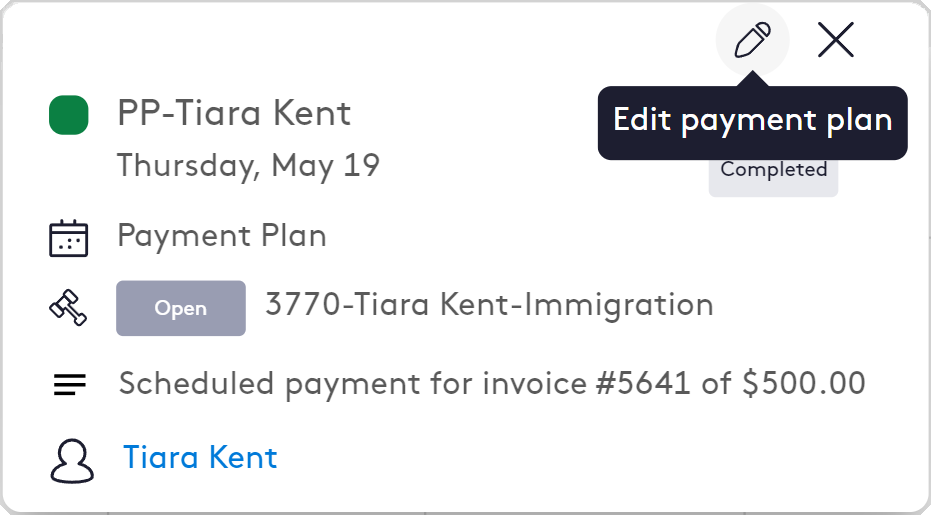
- In events created by Maatdesk, the Edit button will be to perform this action on the element that originated the event.
- Depending on the permissions that have been granted to you in an invitation, these will be the actions that you will be able to carry out in the event.
Deleting an Event
To delete an event:
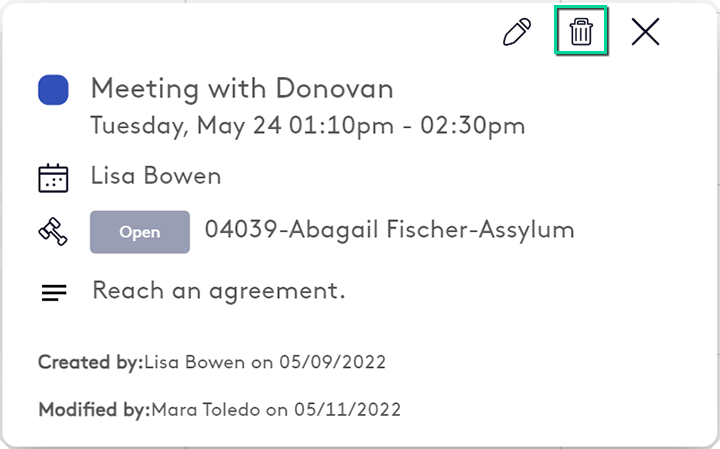
- Click on the event to open its card.
- Click the Delete button at the top right of the event card.
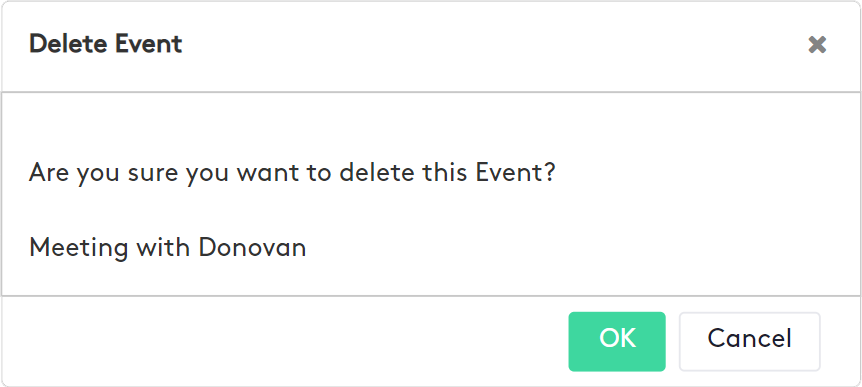
- For individual events, click OK on the modal that is displayed.
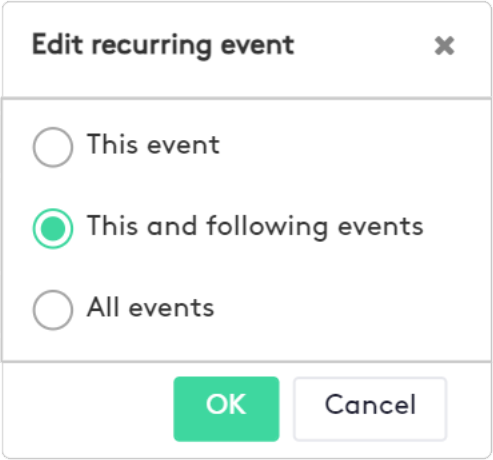
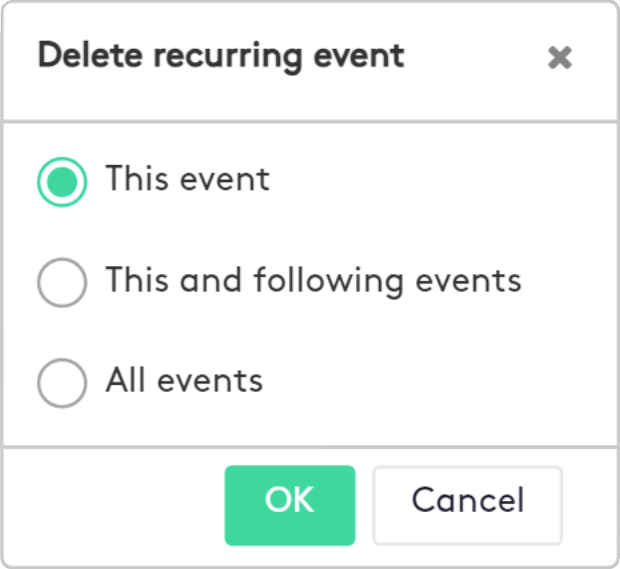
- For recurring events, in the displayed modal:
- Select one of the following options:
- Delete only the selected event.
- Delete the selected event and all those that follow it.
- Delete all recurring events.
- Click the OK button.
- Select one of the following options:
Before deleting an event, consider the following:
- Events created by Maatdesk cannot be deleted, except for Task events if the action is allowed.
- Events with an associated time entry cannot be deleted, you must first delete the time entry.