Document Management
Maatdesk allows you to upload documents and view, e-sign, or share them without the need for external services. In this guide, you will learn to manage all the necessary documents for any matter.
Table of contents
- Accessing Documents tab
- Uploading files
- Creating a folder
- Generating documents from templates
- Navigating the structure of the Documents tab
- Actions with files
- Actions with folders
Accessing Documents tab
To get started with the document management feature, you must first access the Documents tab of the desired matter:
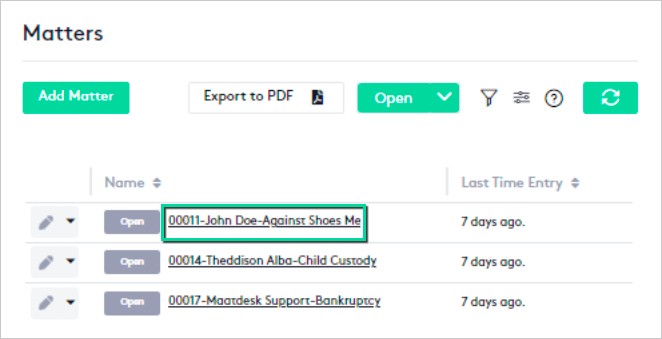
- Click on the matter name to access its Matter dashboard, as long as it is underlined in Maatdesk.
The most direct way is from the Matters window.
- Once there, click on the Documents tab.

Once in the Documents tab, you can create folders, upload and download documents, files and folders or share them with clients and vice versa, this way you can keep all these items for a matter organized in one place.
This feature should not be used as a regular cloud service, only to manage documents and files related to matters.
Uploading files
To upload files to the matter:
- Click the Upload files button.
- Select all the files you need once the browser upload window opens.

Consider the following when uploading a file:
- Maatdesk allows any type of file.
- The maximum size for a single file upload is 100MB.
- The maximum storage capacity per tenant is 5GB (this capacity is the sum of all files and folders stored in all matters).
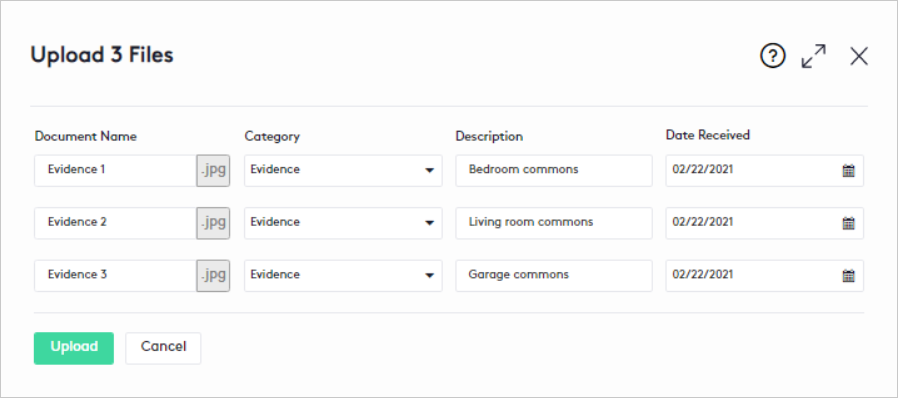
Next, in the body of the Upload X Files panel, you will see four columns and as many rows as there are uploaded files.
Fill in the columns for each file as follows:
- Document Name: This is the original name of the uploaded file, change it if necessary or leave it as is.
- Category: Select a category to classify the file.
This field contains a set of predefined categories such as Decision, Fee Agreement, and others.
- Description: Enter a description based on the name, content, or category of the document, in no more than 250 characters.
- Date received: Select the date the file is uploaded if necessary.
The default date will be current and it is recommended to leave it as is.
Once finished, click the Upload button.
Please note that depending on the number of files to upload, their size, and your network connection, the upload process may take a while.
Maatdesk will not allow a file to be uploaded if there is one with the same name and extension among the existing ones.
Creating a folder
To create a folder:
- Click the Create folder button.

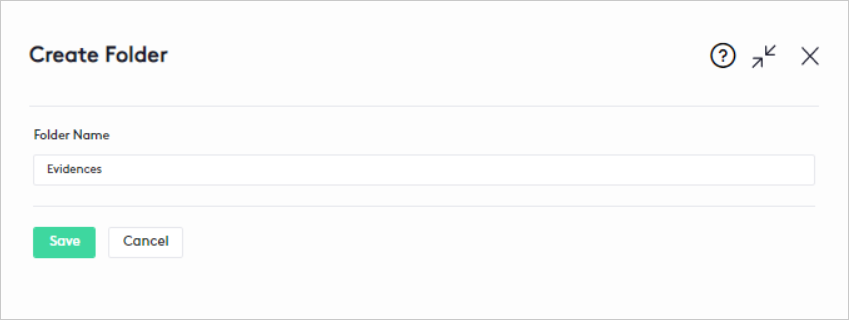
Once the panel is displayed:
- Enter the name of the folder.
- Click the Save button.
Maatdesk will not allow a folder to be created if there is a folder with the same name as the one to be created.
Generating documents from templates
With this function, a system user will be able to generate several documents for a matter given a group of templates.
Here is an example of what you can achieve using this option:
Given a template named Contract.doc that uses tags like <#FIELD MATTER_DISPLAYNAME #>, wherever this tag is displayed in the document, Maatdesk will replace it with the specific Matter Display Name, so the tag will become 0015-Luke Anderson-Divorce.
To learn how to upload a template, read the Managing your Document Templates guide.
To generate a document based on a template:
- Click the Generate Documents button.

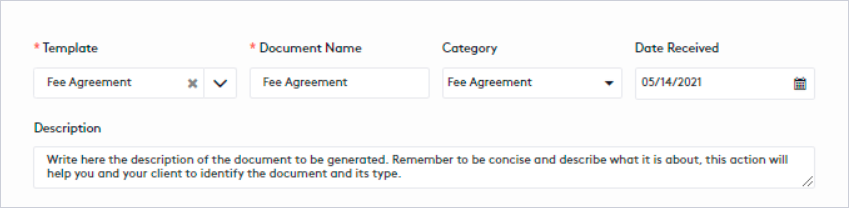
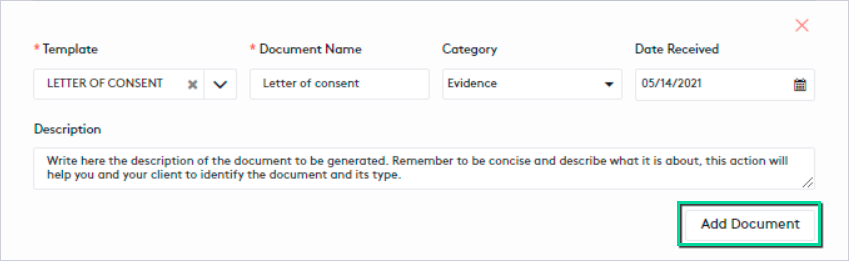
Once the panel is displayed, fill in the fields as described below:
- Template: Select one of the available templates for the document to be generated.
- Document Name: This is the original name of the template, change it if necessary or leave it as is.
- Category: Select a category to classify the document.
This field contains a set of predefined categories such as Decision, Evidence, Fee Agreement, and others.
- Date Received: Select the date the document is generated if necessary.
The default date will be current and it is recommended to leave it as is.
- Description: Enter a description based on the name, content, or category of the document.
To generate more than one document:
- Click the Add document button.
- Fill in the fields that are requested.
- Repeat the process as many times as necessary.
Once finished, click the Generate button. After they are created, you can perform the same actions as with other files (download, share, etc.).
Consider the following when generating a document:
- You can generate one document per template at a time.
- Maatdesk will not allow a document to be generated if there is one with the same name among those that already exist.
- Documents can be generated with or without tags.
If a document contains tags, they will be replaced by their corresponding values.
The following image shows an example of a “Letter of Consent” (tags and values are in red):
- On the left is the template.
- On the right is the generated document.

Navigating the structure of the Documents tab
With files and folders in a matter, you can start navigating the created structure.
To enter a folder, click on its name, Maatdesk will load all its subfolders and files. In this way, you can walk through the existing structure to the end and perform all the actions you need on each file or folder.
You can navigate backward using the breadcrumbs above the action buttons.

Actions with files
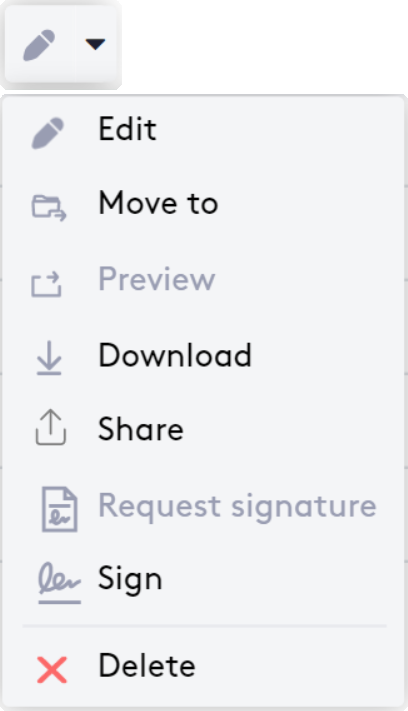
Each file on the Documents tab contains a set of actions that you can perform; to use any of them:
- Expand the action selector (
 ) next to the Edit (
 ) button, at the beginning of the file row in the table.
The actions you can take are as follows:
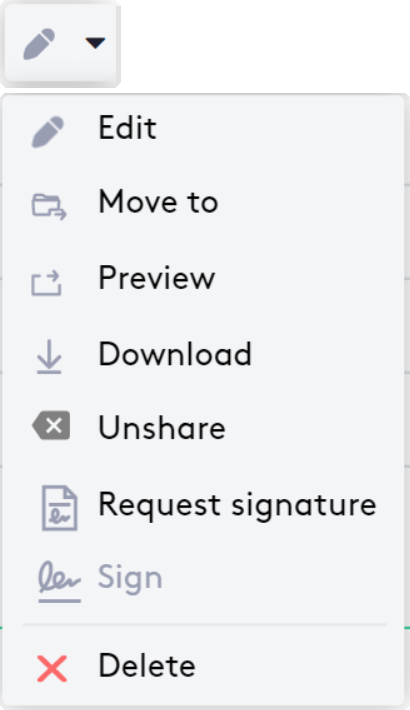
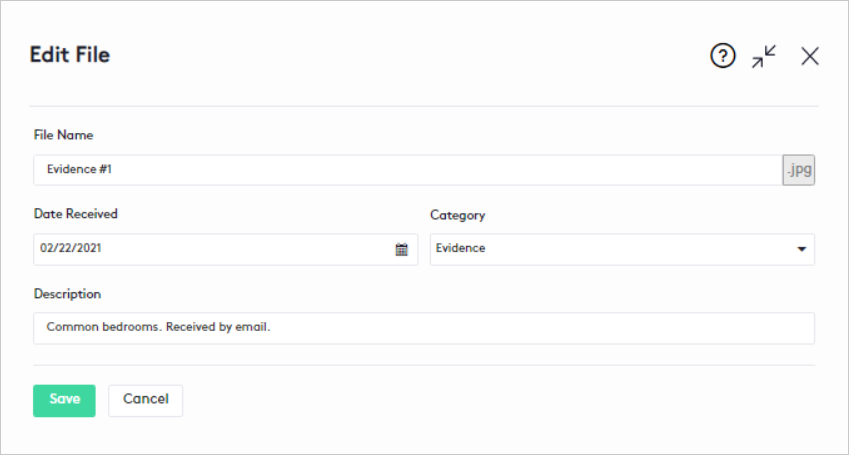
Edit (![]() ): This button allows you to edit the file information.
): This button allows you to edit the file information.
Once the button is clicked:
- Change the information you need.
- Click the Save button.
This action does not change the file content.
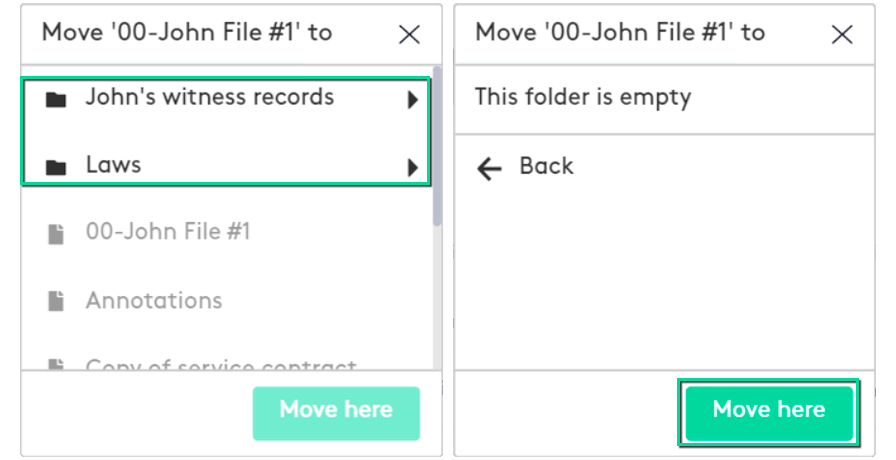
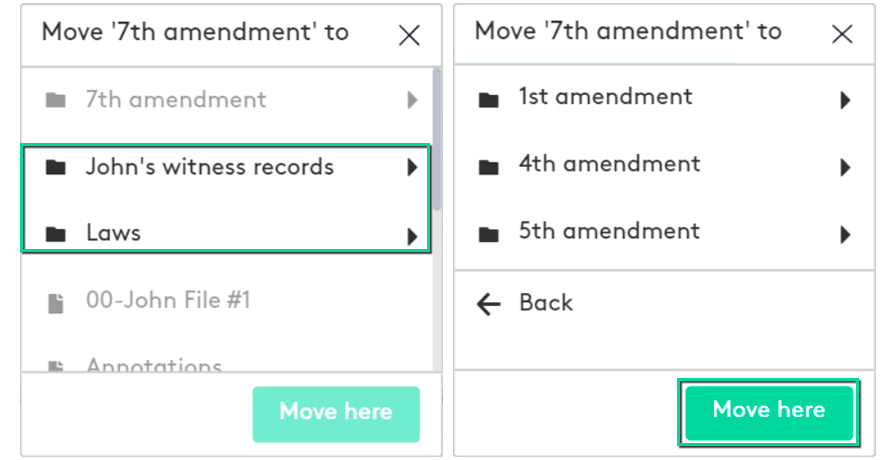
Move to (![]() ): This button allows you to move a file into a folder.
): This button allows you to move a file into a folder.
Clicking this button displays a modal with the document tree structure for the matter:
- Browse the structure until you find where to move the file.
The folders that allow you to do this will be black.
- Click the Move here button.
Preview (![]() ): This button allows you to preview the file, opening its content in a pop-up window.
): This button allows you to preview the file, opening its content in a pop-up window.
Download (![]() ): This action saves the file to your device.
): This action saves the file to your device.
Share/Unshare (![]() /
/![]() ): These buttons allow you to share or stop sharing the file with the matter client.
): These buttons allow you to share or stop sharing the file with the matter client.
- Once shared, the file will be displayed on the Client Portal.
- If sharing is stopped (Unshare action), the opposite will happen even if the client uploaded the file.
Request signature (![]() ): Through this button the document will be sent to DocuSign to carry out the signing process.
): Through this button the document will be sent to DocuSign to carry out the signing process.
Once the button is clicked, the following will occur:
- The document will be automatically shared with the client and can be viewed on the Client Portal if the appropriate tag for the client is present.
- The document will be sent to the client by email to their primary email.
- The Sign button will be enabled so that you can also sign the document if it contains the appropriate tag for the attorney.
- A badge will be shown informing that the document signature is required.
Sign (![]() ): This button will be enabled after the document has been submitted to DocuSign and will open a pop-up window to access and complete the signing process.
): This button will be enabled after the document has been submitted to DocuSign and will open a pop-up window to access and complete the signing process.
If the document has already been signed by you or does not require your signature, by clicking the button, the document will be saved on your device in the state it is in within the signing process.
Please note that the following requirements must be met before accessing the Request signature and Sign features:
- Your eSignature or the firm’s eSignature must be previously configured, this will be the order established to perform this action.
- The matter must have a Responsible Attorney and the matter client a primary email.
- Documents can only be in Word or PDF format.
- Documents must contain one or both of the corresponding tags:
- For the client: <#FIELD STATIC_CLIENTSIGNATURE#>.
- For the attorney: <#FIELD STATIC_ATTORNEYSIGNATURE#>.
Maatdesk will always inform the eSignature process of the document:
 When a document is sent to be signed.
 Either you or the client has signed the document.
 The document is fully signed.
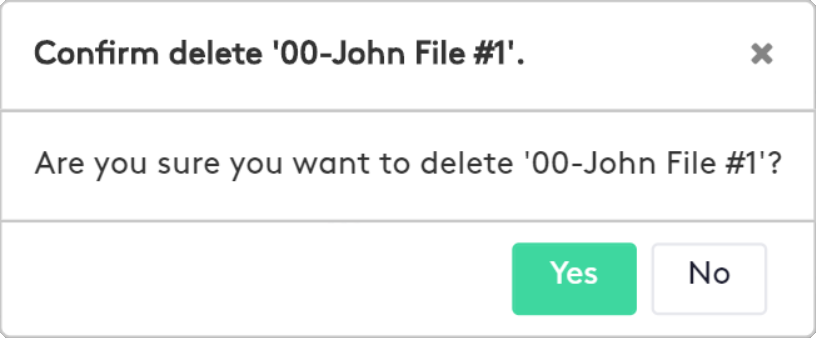
Delete (![]() ): This button allows you to delete the file, this action will also delete the file from the Client Portal if it has been shared.
): This button allows you to delete the file, this action will also delete the file from the Client Portal if it has been shared.
Once the button is clicked, click Yes to confirm in the displayed modal.
Actions with folders
Like a file, each folder on the Documents tab also contains a set of actions that you can perform; to use any of them:
- Expand the action selector () next to the Edit () button, at the beginning of the folder row in the table.
The actions you can take are as follow:
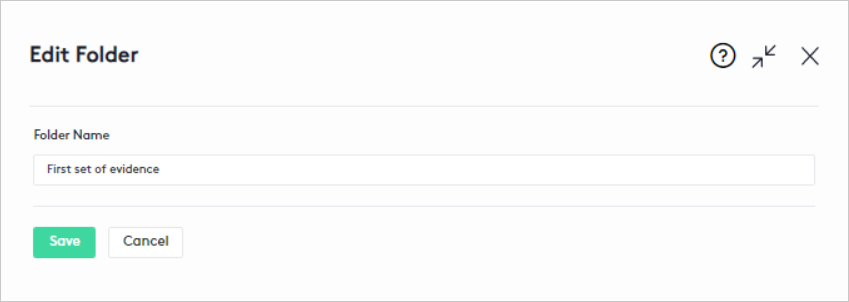
Edit (![]() ): This button allows you to edit the folder name.
): This button allows you to edit the folder name.
Once the button is clicked:
- Rename the folder.
- Click the Save button.
Move to (![]() ): This button allows you to move one folder to another.
): This button allows you to move one folder to another.
Clicking this button displays a modal with the document tree structure for the matter:
- Browse the structure until you find where to move the folder.
The folders that allow you to do this will be black.
- Click the Move here button.
Download (![]() ): With this action, you can save the folder on your device as a compressed (.zip) file.
): With this action, you can save the folder on your device as a compressed (.zip) file.
Note that depending on the size of the folder, the process may take a while.
Share/Unshare (![]() /
/![]() ): These buttons allow you to share or stop sharing the folder and its contents with the matter client.
): These buttons allow you to share or stop sharing the folder and its contents with the matter client.
- Once shared, the folder will be displayed on the Client Portal.
- If sharing is stopped (Unshare action), the opposite will happen even if the client created the folder.
Delete (![]() ): This button allows you to delete the folder.
): This button allows you to delete the folder.
Once the button is clicked, in the displayed modal, click Yes to confirm.
Note that deleting a folder will also delete its internal structure, which includes all its files and subfolders, and will also delete it from the Client Portal if it has been shared.
Maatdesk does not recommend using the Document management feature as a regular cloud service, keep only the documents related to each matter.