
Activity categories classify your time entries, expenses and flat fees, keep their descriptions consistent and, for expenses and flat fees, set the amount they are billed at.
Table of contents
Create a category
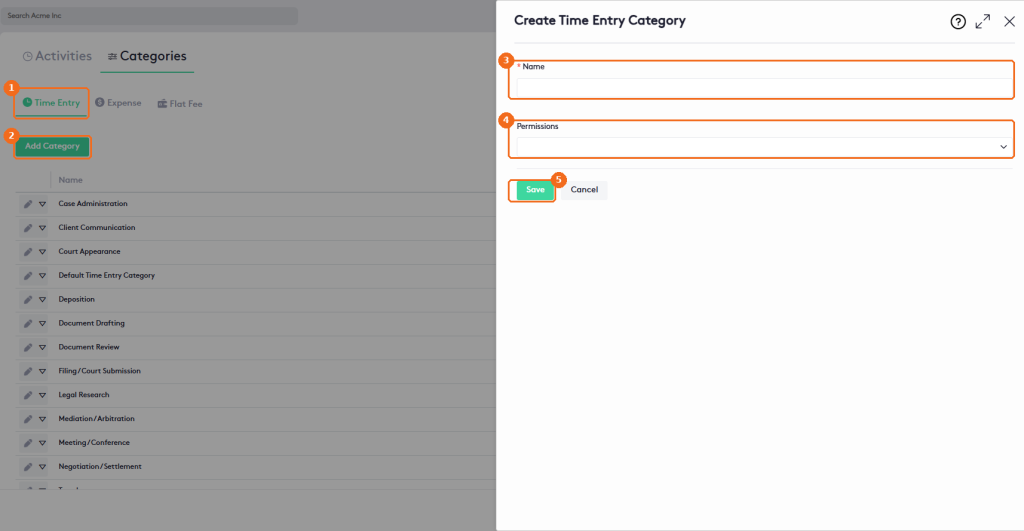
In the left menu, click Activities, then click the Categories tab.
- Click the tab for the type of activity: Time Entry, Expense or Flat Fee.
- Click Add Category.
- In Name (required), enter a name that identifies the category.
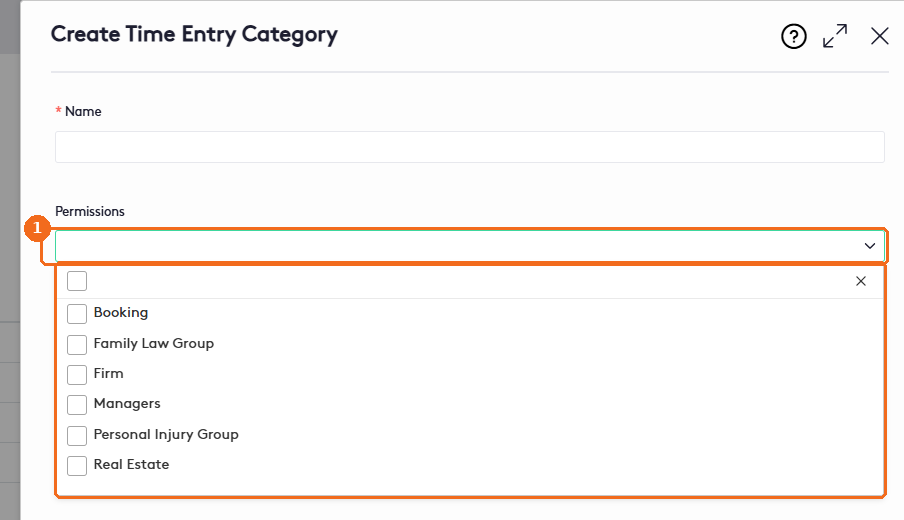
- In Permissions, select the groups that can see and use the category. If you don’t select any group, everyone can use it.
- Click Save.
Amount for expense and flat fee categories
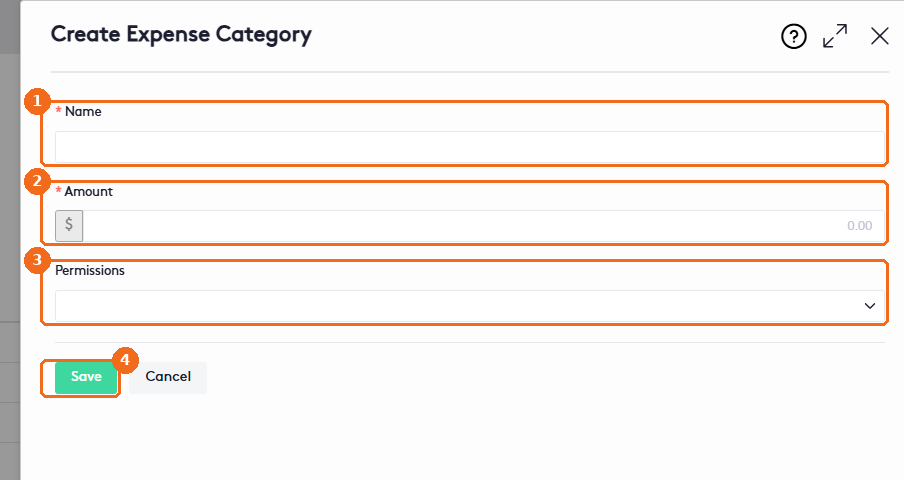
Expense and flat fee categories also have an Amount:
- Enter the Name.
- In Amount (required), enter the amount activities with this category are billed at. When you select the category in a new expense or flat fee, its Amount is filled in with this value.
- Select the Permissions, if needed.
- Click Save. A message confirms that the category was created successfully.
Note. Time entry categories don’t have an amount or rate, and selecting a category doesn’t change the rate of a time entry.
When you select the matter and the firm user in a new time entry, Maatdesk fills in the Rate in this order:
- The user’s rate in the matter’s Billing Rates (matter Edit > Billing Preferences > Add custom rate).
- The rate of a group the user belongs to, in the matter’s Billing Rates.
- The user’s rate in the client contact’s Billing Rates.
- The user’s default Rate in Settings > Users.
You can always change the rate on the time entry.
Edit a category
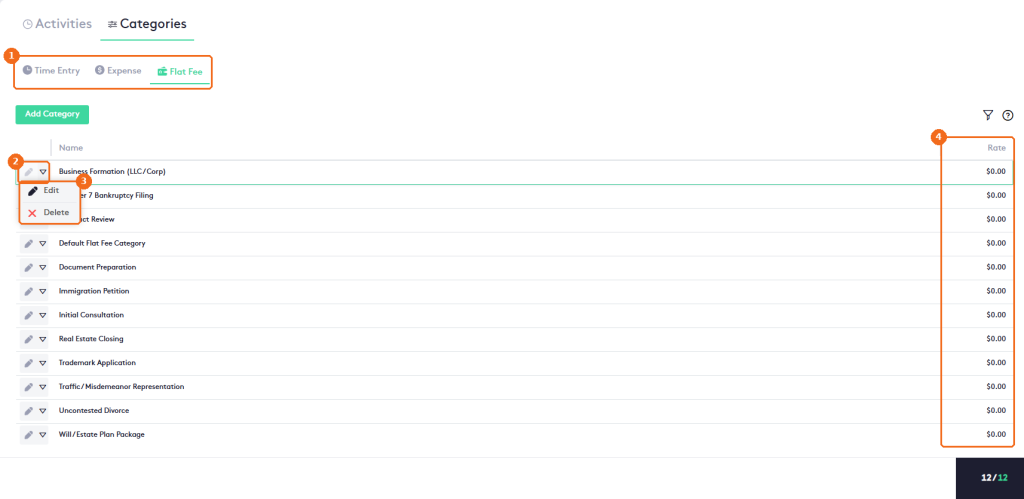
- In the Categories tab, click the tab for the type of activity.
- Click the pencil at the start of the category row, or click the arrow next to it and click Edit.
- The actions menu also has Delete. The Rate column of the flat fee list shows the Amount of each category.
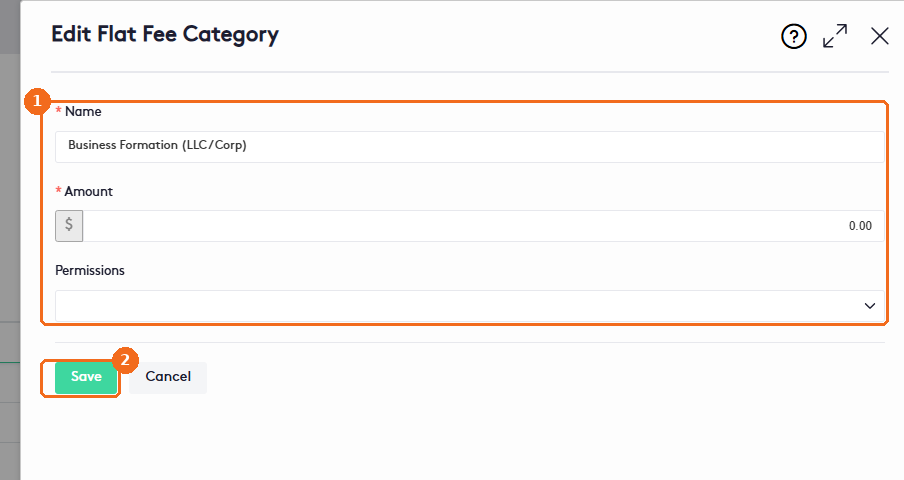
In the edit panel:
- Change the fields as described in Create a category.
- Click Save.
Note. Changing a category’s amount doesn’t change the amount of activities already recorded with it.
Delete a category
- In the Categories tab, click the tab for the type of activity.
- Click the arrow next to the pencil at the start of the category row.
- Click Delete. The Delete Activity Category dialog asks “Are you sure that you want to delete” the category.
- Click Yes to confirm, or No to cancel.
Note. You can’t delete a category that is used by an activity. Delete stays available in the menu, but when you click Yes the app shows a message that the category is in use and isn’t deleted.